Week 11 – Cake Pops!!!

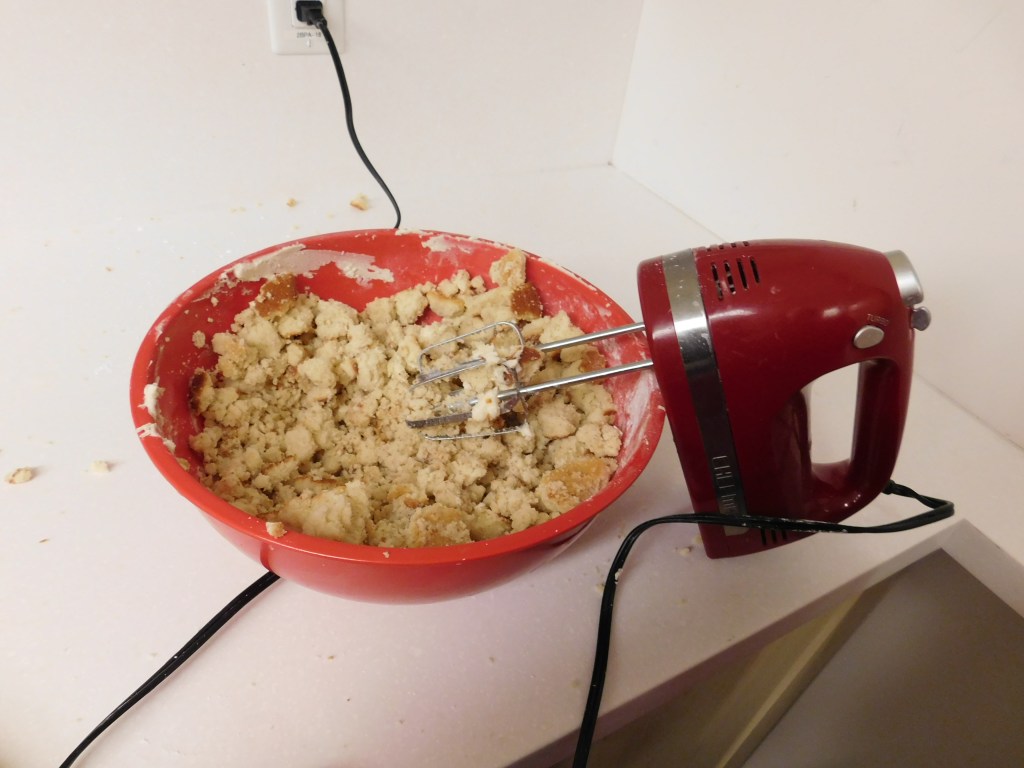
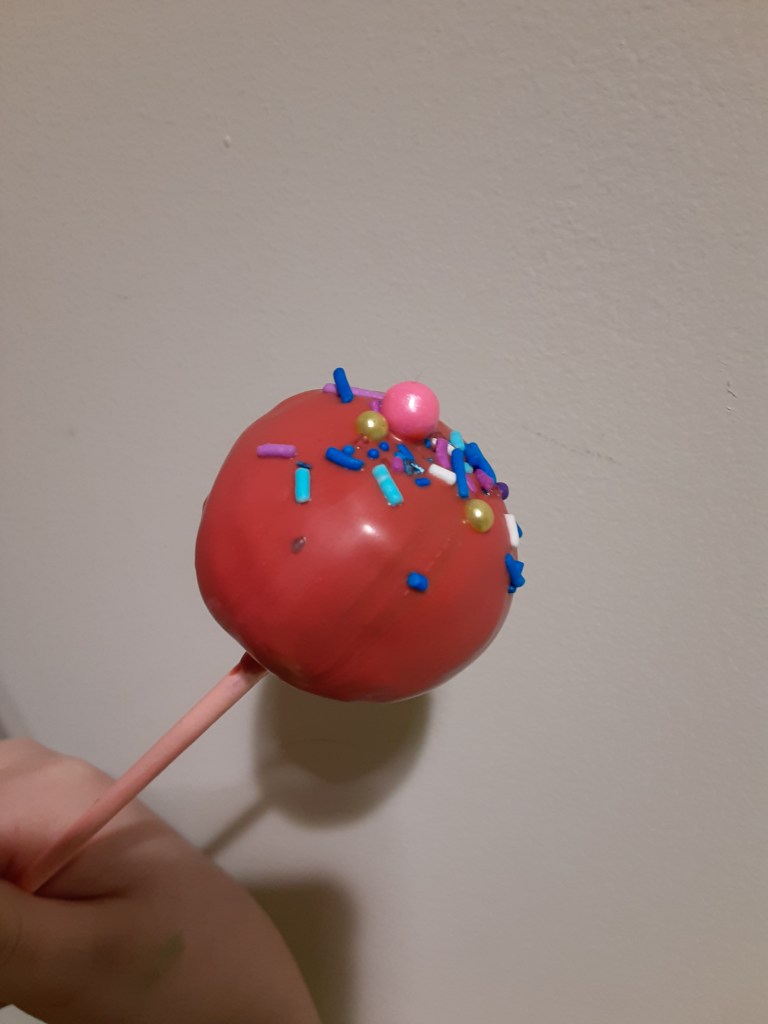
This week was the pay off for last week’s hard work! We took our thawed cakes and beat them together with some frosting to make these delicious and delightful cake pops!

The key to cake pops we discovered, is to ensure that the cake and frosting mix is nice and cold. This was easier for us because our cakes had been frozen during the week – so were thawed in the refrigerator, making them nice and cool. Still after we rolled the cake balls we popped them in the freezer, and only took out a few at a time to decorate. The recipe also warned us to go easy on the icing (or end up with greasy cake pops) and sure enough we found we didn’t even need the full cup the recipe called for.

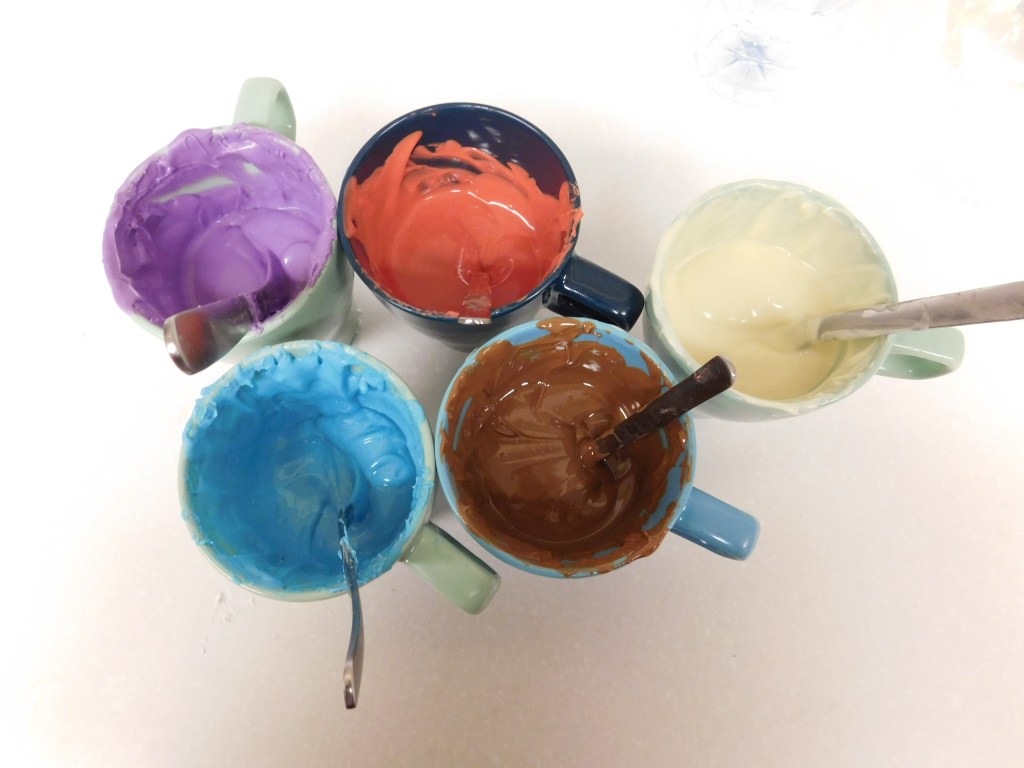
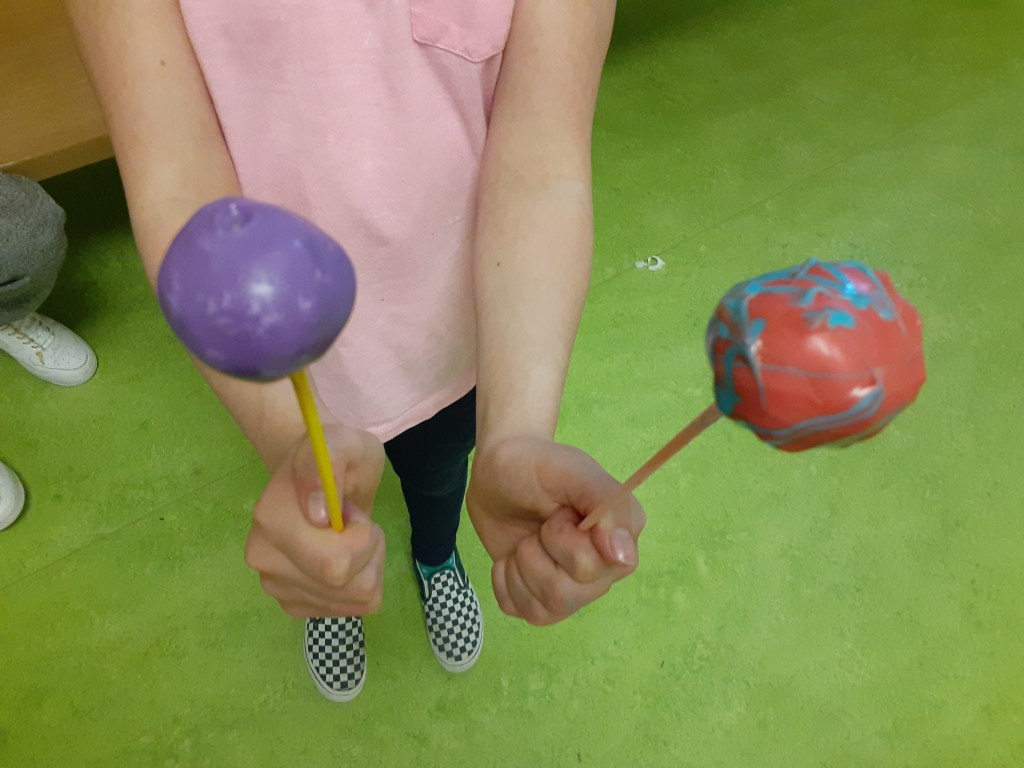
Our coloured chocolate came from the Bulk Barn, where you can buy something sometimes called “candy melts” or “molding wafers” – it is essentially white chocolate with cocoa butter, so that you don’t have to worry about tempering your chocolate. We also melted some white, and milk chocolate chips and added a little oil. You can also get the nice long colourful sticks at the Bulk Barn!

Mugs and a microwave work great for melting chocolate! The mug ensures the chocolate is deep enough that you can dip the whole pop in!

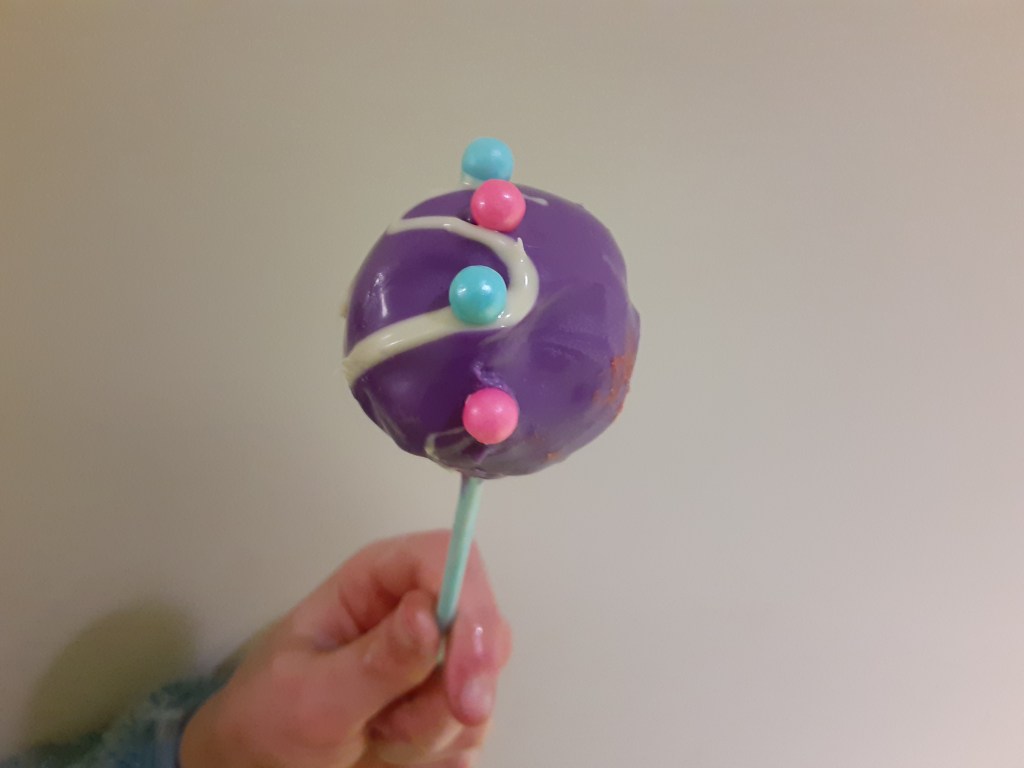
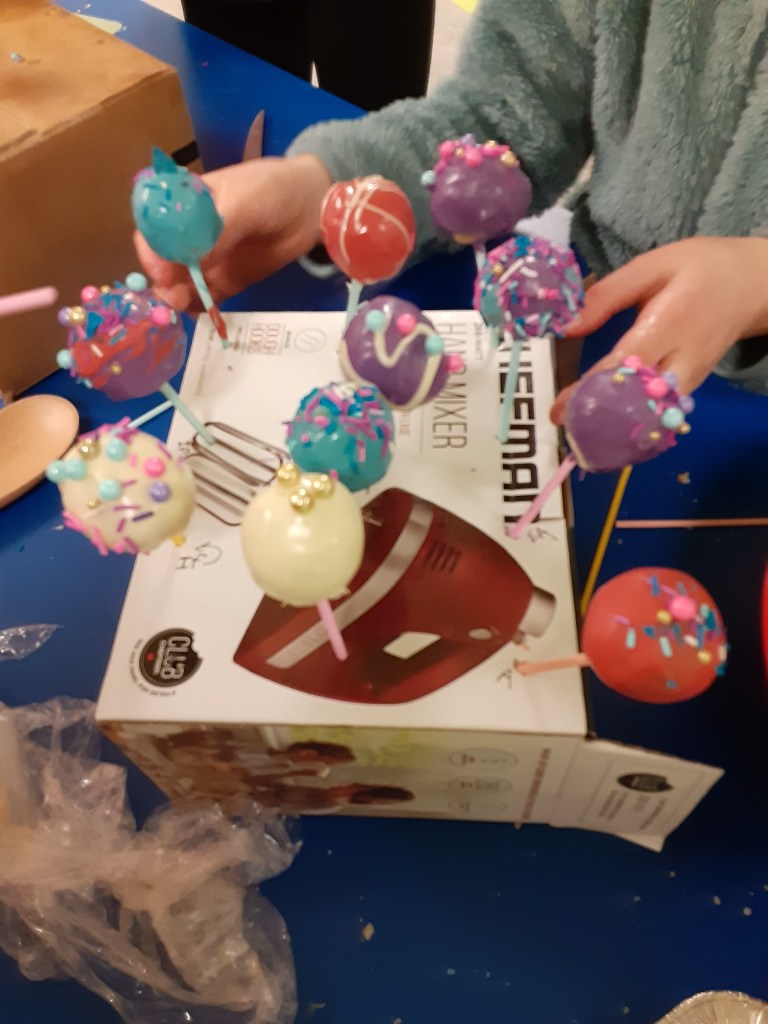
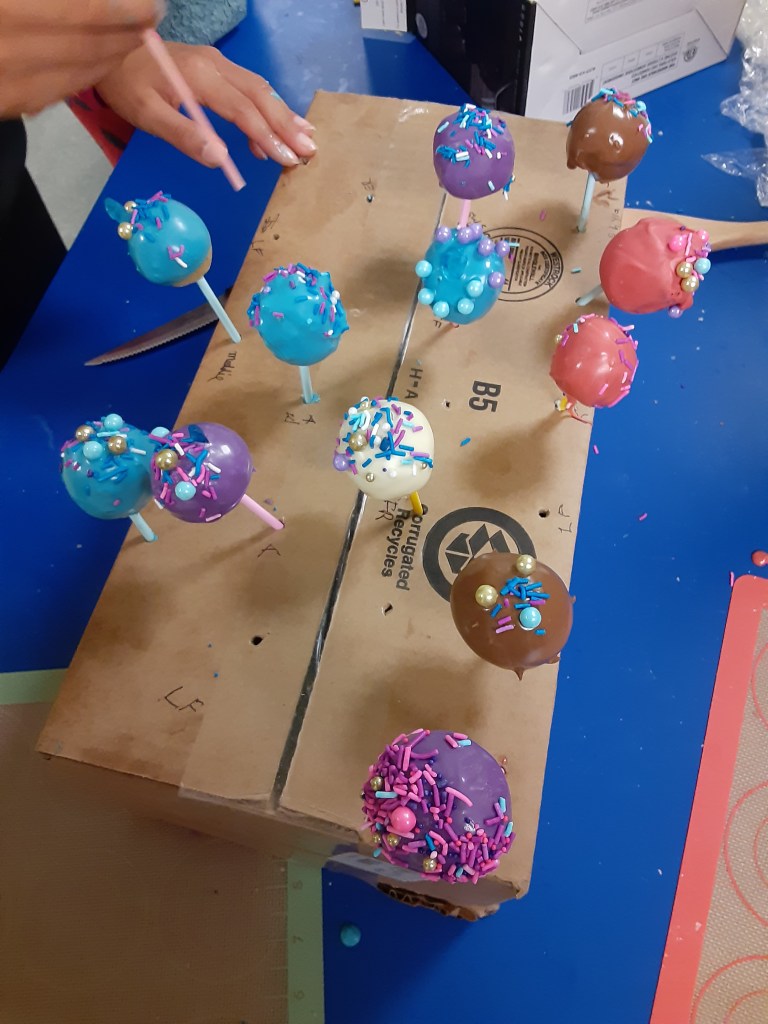
Finding something to hold your pops upright while they dry is a bit tricky. We tried a couple different cardboard boxes with mixed success. But upright, or upside down, these cake pops were the talk of the town!

Week 10 – Baked Donut Holes!

This week was a busy one – we baked two cakes and got them in the freezer so that next week we can make cake pops, but not wanting to go home empty handed we also managed to make some baked donut holes!

These little donuts are reminiscent of being at the carnival – but baked in a mini muffin tin, making them quick and easy!

We rolled some in powdered sugar (make sure to let the donuts cool first if you choose this option, otherwise the powdered sugar melts), and some in cinnamon sugar – and found they were all delicious!

You can find the recipe here: https://sallysbakingaddiction.com/mini-powdered-sugar-donut-muffins/

We were so busy this week we hardly had time for photos -but we’ll make up for it next week!

Week 9 – Cinnamon Buns!

This week we made cinnamon buns with a delicious cream cheese frosting! Cinnamon buns come in two varieties: the kind made with yeast will be light and bready, the kind without are richer, more like a pie crust! The yeast variety requires quite a bit of rise time, which doesn’t work with our timeline, so we went yeast free!

We discovered that in order to ensure that all the cinnamon buns in your recipe come out equally delicious it is key to remember to spread your cinnamon spread right to the edge of your rectangle of dough before rolling it up. If you don’t go right to the edge, you end up with a few rolls on the edge that are just dough.

You can find our cinnamon bun recipe here: https://www.food.com/recipe/quick-cinnamon-rolls-no-yeast-293243

And our cream cheese frosting recipe here: https://www.allrecipes.com/recipe/216759/the-perfect-cinnamon-roll-icing/

Week 8- Brownies, Blondies, & Caramel Lace Tuiles

This week we made decadent brownies, and because not everyone is a chocolate fan – we also made some scrumptious blondies! Both recipes turned out great – though our time restraints meant they came out a little extra fudgey. In our 9×9 glass pans, they could have used a little extra time, and, if you prefer them a little more set, they would have benefitted from a little time cooling before being cut up.
Brownie recipe: https://sallysbakingaddiction.com/seriously-fudgy-homemade-brownies/
Blondie recipe: https://sugarspunrun.com/blondies-recipe/

We also discussed the darker side of online baking videos. We watched this (dangerous!) video: https://www.youtube.com/watch?v=6h675kjknK4 and then talked about how many of the techniques shown are very unsafe, and don’t work! (do NOT pour boiling caramel onto an electric beater – it is too hot and can burn you). If you want to see why watch this: https://www.youtube.com/watch?v=CEQaYdvs478 .

That said, after a little research I discovered you can make caramel lace tuiles from werthers candies safely! You just need to do it in the oven. So we crushed up some werthers (I could only find the kind that are soft in the middle and hard on the outside, but they still worked! You don’t want the totally chewy kind). We placed the crushed candies into circles on a silicone baking mat and baked them at 400, keeping an eye on them until they started bubbling (about 5 minutes). The results were a beautiful edible decoration for atop a cupcake, brownie, cake, etc

Week 7 -Decorating Cupcakes!

This week was our long awaited cupcake decorating week! Last week we baked enough chocolate and vanilla cupcakes for every to have 3 cupcakes to practice their decorating skills on this week. The colourful creations were absolutely incredible!

Here are our cupcake recipes – we needed to keep it pretty simple to maximize our output. You might choose more flavour combinations if you were only baking a few. But these were moist, and very straightforward.
Chocolate:https://www.lifeloveandsugar.com/moist-homemade-chocolate-cupcakes/
Vanilla: https://www.lifeloveandsugar.com/moist-vanilla-cupcakes/

We stuck to a simple buttercream frosting, but created two different consistencies (more icing sugar and less milk for a firmer frosting that really holds its shape, and a little extra milk/cream for a fluffy soft frosting). Here’s the recipe we followed: https://www.mybakingaddiction.com/buttercream-frosting-recipe/

We also had lots of fun watching different videos and discovering different techniques. Here’s a few we enjoyed: https://www.youtube.com/watch?v=IdqrJHiTSkk , https://www.youtube.com/watch?v=7ugnLIffGxE&t=231s

Week 6 – Eating Cheese Straws and Baking Cupcakes

Last week when we made our puff pastry pinwheels, we also made some puff pastry cheese straws, but didn’t have time to bake them. So we tossed them in the freezer and this week we started our class by popping them in the oven and having a tasty snack!

The recipe for the homemade puff pastry is in last week’s post. Here is the recipe we used to turn our puff pastry into tasty cheese straws: https://www.thekitchn.com/how-to-make-puff-pastry-cheese-straws-226381 We used Parmesan cheese, but any hard cheese would be great!

We also made chocolate and vanilla cupcakes which we’ll be decorating next week!

Week 5 – Puff Pastry Pinwheels

This week we used the puff pastry we rolled out last week to create some scrumptious puff pastry pinwheels!
We ran into a little trouble when we realized we should have let our pastry thaw in the fridge over night – as after a few hours in the fridge it was still pretty hard. This is tricky because in order for puff pastry to puff, the butter in the dough must be very cold and the oven very hot. So you can’t do too much to speed up the thawing of the dough, or you risk melting the butter and getting no puff in the oven! By pulling the dough apart a little, taking the softer outer dough off and giving the harder inner dough a chance to thaw we were able to get it soft enough to work with without melting it. We then folded and rolled it a few more times to ensure maximum layering, and then cut it into squares, and then into beautiful pinwheels.
In the centre we put a hefty scoop of sweet cream cheese filling, and a few wild blueberries. Then we stuck them into the piping hot oven and watched with satisfaction as they puffed up! The consensus after eating was that this was a five star recipe worthy of reproduction – so here are our recipes!
Puff pastry: https://bakingamoment.com/easy-homemade-puff-pastry-recipe/
Video showing some design options (including the pinwheel): https://www.youtube.com/watch?v=3_Pp9fwLkBY (includes the sweet cream cheese filling recipe)

Week 4 – Personal Pizzas (and Puff Pastry Dough)

This week we decided to take on a double duty! We bought pizza dough and learned how to work with the dough to shape it into personal pizzas, while also making our own puff pastry from scratch to bake with next week.

Pizza dough is actually quite easy to make at home, but like all yeast based doughs it needs some time to rise and to rest. So we worked with fresh pre-made dough, watching videos on how to move the dough around, pushing with the palm of our hand to stretch it into a circle. Then we dressed it up with some sauce and cheese and popped them in the oven! When they came out we added some basil and sat down to snack!

This week we also made puff pastry – a dough that uses layers of butter (like in a croissant) to create a puffed up, flaky dough that is great for sweet treats and savoury snacks. The dough requires a lot of folding and rolling to create the buttery layers. After creating at least three layers, we rolled our dough up into a number of balls and popped it in the freezer so that we could work with it next week!

Week 3 – Sugar Cookies

Last week we made sugar cookie dough and froze it so that this week we bake our cookies and decorate them. We worked on evenly rolling out the dough and found it can be quite tricky! We chose a range of shapes – unicorns, snowflakes, circles, flowers, and little cardinals. Ideally we would have baked one shape at a time to ensure a uniform bake, but we didn’t have the time, so we piled them all in and it turned out just fine. Some were a little thinner and crunchier, and others were softer – but they all tasted great.
For our decorating we played around with making some of our royal icing thicker – great for piping the edges of a shape, and some thinner for flooding the inside of the cookies. We explored using some marbling techniques and controlling the icing to make designs. Royal icing can be quite challenging – but all our creations were beautiful and delicious!

Our sugar cookie recipe came from here: https://www.foodnetwork.com/recipes/alton-brown/sugar-cookies-recipe-1914697
And our royal icing came from here: https://www.juliausher.com/blog/more/royal_icing

Week 2 – Chocolate Chip Cookie BAKE OFF


Chocolate chip recipe #1
Chocolate chip recipe #2

What makes a GREAT chocolate chip cookie?

This week we tested two different chocolate chip cookie recipes to see which produced the better result. The results are in and chocolate chip cookie recipe #2 is the winner! (9 of 13 participants said this was the better cookie, with 4 participants finding both recipes equally delicious).

Recipe #1 and #2 were similar, but #2 had a higher proportion of brown sugar, an extra egg, and cut up chunks of chocolate.

Recipe #1 (not the winner, but still delicious!)
https://sallysbakingaddiction.com/crispy-chocolate-chip-cookies/

Recipe #2 (THE WINNER!)
https://www.ricardocuisine.com/en/recipes/4874-chewy-chocolate-chip-cookies-the-best

Design a site like this with WordPress.com
Get started